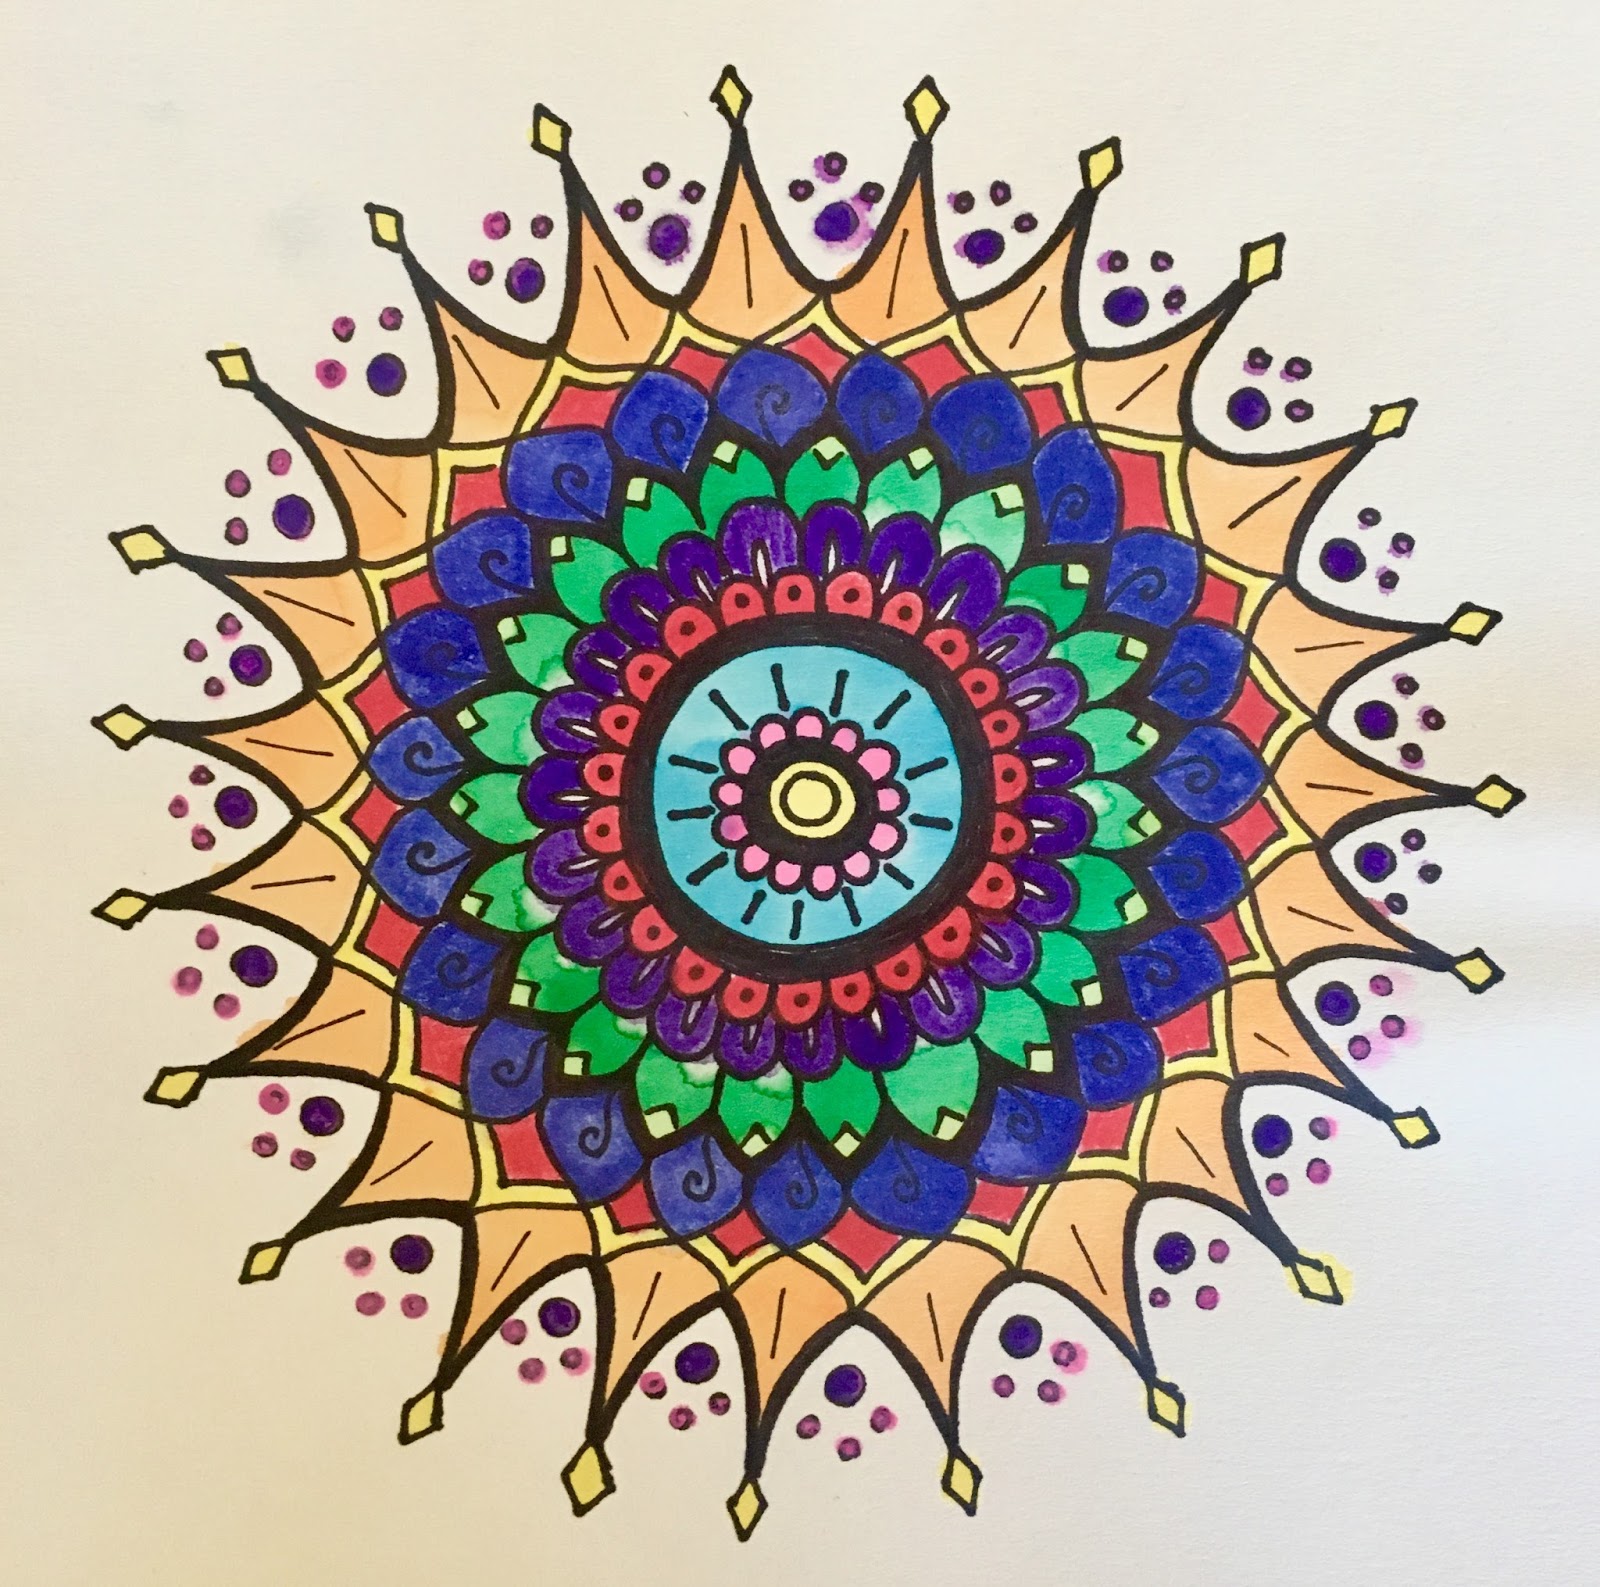
Mandalas: simple lines and shapes that add up an intricate, gorgeous composition that blows audiences away. Not to mention the therapeutic benefits for the artist. Toward the end of the year the noise level is on the rise as schedules are disrupted for special events, students start mentally checking out of school, and attention spans are short. Enter: mandalas. It's almost impossible to stay stressed or distracted while you are embarking on mandala-making.
Video accessed on YouTube.
If you break mandalas down to their most basic elements they are made of repeating simple lines and shapes. What is not so simple, for some, is to repeat those simple lines and shapes so they are the same size all the way around the design. Artists combat this in a few different ways. You can draw concentric circles with a compass or trace and transfer a section that you like. Or you can follow artist Elsa Rhae (video above) and make lemonade from lemons if one of your shapes gets too big or too small.
One trick I have my students do, after they've cut their paper into a square, is to use a straight-edge to find the center of the paper by drawing diagonal lines from the corners. Then they are free to build out from that center point with curved lines, spirals, petals, tear drops, and any other pattern they can think of. Some students prefer to work in pencil while others enjoy the challenge of using Sharpies right away. After the design is inked and any stray pencil marks are erased it's time to add color. At the top of the post, the first example was completed using watercolor pencils, which gives a bit more control but still has the tendency to leak. My students loved the tie-dye effects of using watercolor paint and pipettes.

Here's what we've done so far:
- Start with a square piece of watercolor paper of any size. The bigger the paper the more room you have for layers of design.
- Find the center of your paper by making soft diagonal lines with a pencil from opposite corners of the paper. Where they intersect is the center.
- Choose a dot, spiral, or center shape of your choice. Continue building out the layers until you are happy with the shape of your mandala.
- If you worked in pencil, re-trace your design with Sharpie. Then erase any stray pencil lines.
Now for the magic part aka beautiful color blending that you don't totally control:
- Take your paper to the sink and run it under water until the whole surface is wet. Since you used watercolor paper this step won't hurt your design!
- Lay your wet paper on top of paper towel and return to your liquid watercolor paints.
- (Before you wet your paper) Choose 3-4 colors that are analogous or close to each other on the color wheel. One color can be more complementary (like the pink and green above) but they will need a color buffer when you apply the paint.
- Keep a cup of clean water to wash out the pipette between colors.
- Use the pipette to apply drops of color scattered around your paper. Leave some white space so that the other colors you chose will have a place to shine before blending with colors you've already applied.
Vocabulary
Mandala
Radial Balance
Cultural Significance
Mandalas refer generally to repeating patterns around a center point, showing radial balance. These designs are especially important in Hinduism and Buddhism and examples can also be found in Christianity. In all religions, the circular arrangement of the design represents the universe and contemplating these forms can be meditative or a reference to the journey between the earthly and the divine.


